
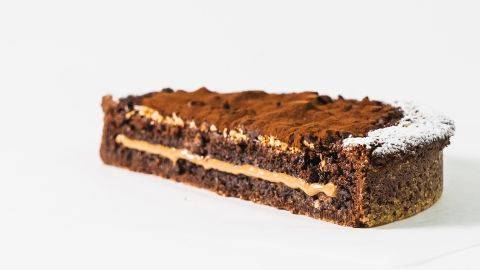
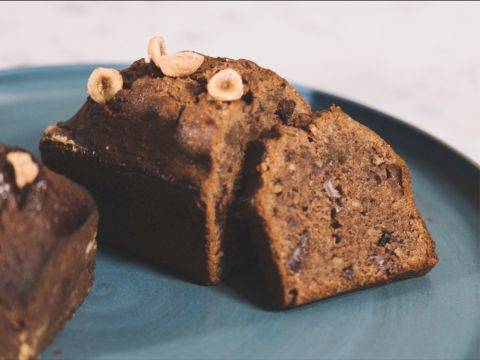
Gâteaux Basques are a great way to highlight seasonal flavors and often feature a filling of pastry cream or jam, historically black cherry. Chef Nico has given this traditional French dessert a decadent spin with chocolate and hazelnuts. If you’re not familiar with the Gâteau Basque, this recipe is a great place to start. Chef Nico will guide you through each step of the process to insure your success. Even “GB Pros” will find helpful tips and tricks here: from preparing a tender chocolate dough to making the perfect pastry cream for filling your cake. Taking the process step-by-step allows you to easily construct a stunner of a pastry with multiple elements and layers of flavor. You’ll also acquire some garnishing tricks to add to your toolkit. Master the techniques here, then come up with your own innovative version!Gâteaux Basques are a great way to highlight seasonal flavors and often feature a filling of pastry cream or jam, historically black cherry. Chef Nico has given this traditional French dessert a decadent spin with chocolate and hazelnuts. If you’re not familiar with the Gâteau Basque, this recipe is a great place to start. Chef Nico will guide you through each step of the process to insure your success. Even “GB Pros” will find helpful tips and tricks here: from preparing a tender chocolate dough to making the perfect pastry cream for filling your cake. Taking the process step-by-step allows you to easily construct a stunner of a pastry with multiple elements and layers of flavor. You’ll also acquire some garnishing tricks to add to your toolkit. Master the techniques here, then come up with your own innovative version!Gâteaux Basques are a great way to highlight seasonal flavors and often feature a filling of pastry cream or jam, histor...
- Shelf life:
- 2 days
- Conservation:
- Room temperature, dry
Containing: 9 Components
Gâteau Basque Dough
Ingredients: Gâteau Basque Dough
-
215 gAll purpose flour
-
7 gRice flour
-
3 gbaking powder
-
160 gbutter
-
180 gSugar
-
2 gsalt
-
35 gegg yolks
-
35 gEggs, whole
-
All purpose flour
Preparation: Gâteau Basque Dough
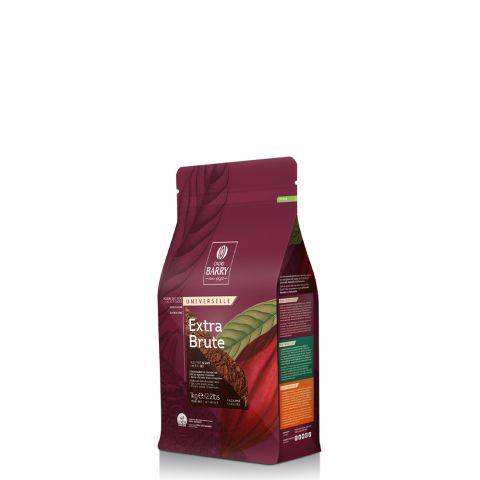
- Sift the flour, cocoa powder, rice flour, and baking powder together onto parchment paper.
- In a tabletop mixer, mix the room temperature butter with the sugar and salt on low speed using the paddle to cream it.
- Add the egg yolks and eggs and continue mixing on low speed. Add in the sifted flour mixture and mix until the dough is homogenous. Do not overwork the dough.
- Turn the dough out onto a lightly floured work surface and knead it until smooth, then shape it into a square and wrap it in plastic film.
- Chill the dough in the refrigerator until firm, about 1 hour.
Tools
- Scraper
- Bowl(s)
- Parchment paper
- Plastic film
- Tabletop mixer, mixing bowl and a paddle attachment
- Spatula
- Sieve
Pastry Cream
Ingredients: Pastry Cream
-
500 gWhole milk
-
125 gegg yolks
-
100 gsugar
-
50 gCornstarch
-
1 beans(s)vanilla bean
-
50 gbutter
Preparation: Pastry Cream
- Warm the milk in a saucepan over medium heat.
- Mix the egg yolks with half of the sugar, making sure to thoroughly combine the ingredients. Once well-incorporated, add the cornstarch and mix well again.
- Cut the vanilla bean, scrape out the seeds and add into the milk.
- Add the remaining sugar into the milk. This helps prevent the milk from burning on the bottom of the saucepan.
- Once the milk is boiling, pour half of it onto the egg yolk mixture and whisk well. This warms the egg yolks slowly, preventing them from cooking too quickly.
- After whisking well, pour the egg yolk mixture back into the saucepan with the remaining milk and bring to a boil, whisking constantly.
- Once boiling, continue cooking for 1 minute while whisking.
- This allows the starch in the pastry cream to relax.
- Turn off the heat, add the butter into the cream and whisk well. The cream should be smooth without any lumps.
- Pour the pastry cream into a shallow container and cover with plastic film so that it touches the entire surface of the cream.
- Reserve in the refrigerator until needed.
Tools
- Cooktop
- Saucepan
- Metal Tray
- Whisk
- Knife
- Bowl(s)
- Mixing bowl (s)
- Plastic film
- Cutting board
- Spatula
Praline Insert
Ingredients: Praline Insert
Preparation: Praline Insert
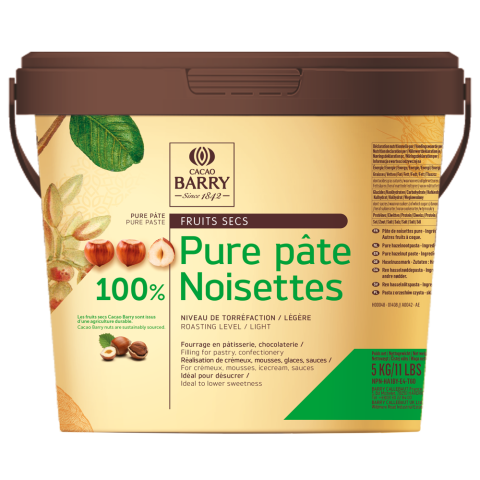
- Mix together the praliné and hazelnut paste in a mixing bowl and pour the mixture into a piping bag.
- Pipe 150g (5.3 oz) of the preparation into a cake ring. You can use a scale to make sure you are adding the right quantity.
- Place the filled cake ring in the freezer until frozen. Once solid, remove the metal ring. Keep the insert in the freezer until needed.
Tools
- Metal Tray
- Piping Bag
- Scissors
- Bowl(s)
- Mixing bowl (s)
- Silicone mat
- Spatula
- 16 cm (6.3”) metal ring
Caramelized Hazelnuts
Ingredients: Caramelized Hazelnuts
-
7 gwater
-
30 gsugar
-
60 gHazelnuts, blanched
-
3 gbutter
Preparation: Caramelized Hazelnuts
- Heat the water and sugar in a saucepan until the mixture reaches 115°C (239°F).
- Once the sugar has reached the proper temperature, add the hazelnuts and caramelize them over medium heat, stirring until they reach the desired color.
- Once the nuts are caramelized, turn off the heat, add the butter and keep mixing so that the hazelnuts do not stick together.
- Spread the hazelnuts out onto a metal tray lined with a silicone mat and let the nuts cool down completely at room temperature.
- Once cool, place the hazelnuts in a piping bag and lightly crush them using a rolling pin.
- Reserve until needed for garnishing the cake.
Tools
- Cooktop
- Metal Tray
- Thermometer
- Piping Bag
- Bowl(s)
- Rolling pin
- Silicone mat
- Saucepans
- Spatula
Pre-Assembly
Ingredients: Pre-Assembly
-
Butter, Softened
-
Turbinado sugar
-
All purpose flour
Preparation: Pre-Assembly
- Using a brush, spread some softened butter into the mold.
- Pour the turbinado sugar into the mold, making sure it covers the entire surface of the mold. Remove the excess sugar by tapping the mold on the table.
- Remove the plastic film from the refrigerated dough and sprinkle some flour on it. Roll the dough to a thickness of 4mm (.16”). Make sure you turn the dough as you roll it so that it does not stick to the table. Apply more flour to the table as needed.
- Cut out a 22 cm (8.6”) circle and place it inside the prepared mold, making sure to press the dough into the mold on all sides. Remove any excess dough using a knife.
- Chill the dough completely in the refrigerator.
- Roll the remaining dough to a 4 mm (.16”) thickness and cut a second 22 cm (8.6”) diameter circle that you will use later to place on top on the cake.
- Reserve in the refrigerator until needed.
Tools
- Metal Tray
- Knife
- Bowl(s)
- Parchment paper
- Rolling pin
- Brush
- Silicone mat
- 20 cm (7.9”) round cake pan - 2.5 cm (1”) tall
- 22 cm (8.6”) round cake ring
Fine Chocolate Discs
Ingredients: Fine Chocolate Discs
Preparation: Fine Chocolate Discs
- Using a wet paper towel, dampen a metal tray and apply a guitar sheet, smoothing the sheet to remove any air bubbles.
- Pour some pre-crystallized chocolate on the sheet and spread to a 1 mm (.04”) thickness using an offset spatula.
- Cut a circle using the 18cm (7”) metal ring.
- Place a sheet of parchment paper and a metal tray on top of the chocolate circle.
- Leave the chocolate to crystallize for a few minutes, then reserve until needed.
Tools
- Parchment paper
- Offset spatula
- Paper towel
- Bowl (s)
- Metal Tray (s)
- Guitar sheet
- 18 cm (7”) round cake ring
Chocolate Cream
Ingredients: Chocolate Cream
-
65 gbutter
-
125 gPastry Cream, warm
-
30 galmond flour
-
35 ghazelnut flour
-
65 gsugar
-
0.5 gsalt
-
2 gCornstarch
-
40 gEggs, whole
-
30 grum
Preparation: Chocolate Cream
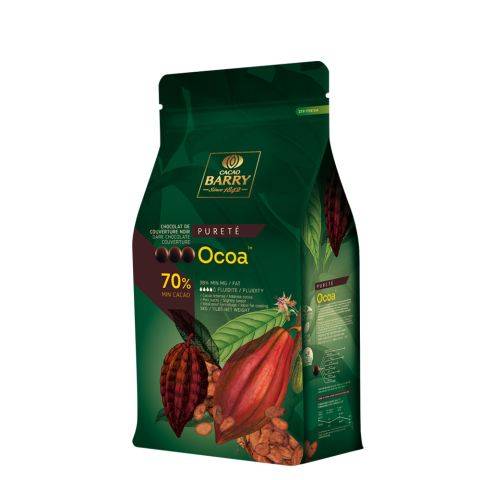
- In a bowl, melt the butter and chocolate in the microwave until the mixture reaches 45°C (113°F). Mix well.
- Warm the pastry cream slightly and mix it with the almond flour, hazelnut flour, sugar, salt, and cornstarch. Mix well to insure a homogenous texture. The pastry cream has to be warm so that the texture of the final product is creamy.
- Stir in the melted chocolate-butter mixture and whisk again.
- Add the eggs and rum and mix until smooth.
- Transfer the mixture to a piping bag and reserve for assembly.
Tools
- Whisk
- Thermometer
- Microwave
- Bowl(s)
- Mixing bowl (s)
- Spatula
Assembly and Baking
Ingredients: Assembly and Baking
-
1egg yolks
Preparation: Assembly and Baking
- Pipe the chocolate cream into the cake mold, on top of the dough, in a spiral.
- Place the praliné insert on top of the cream.
- Pipe more chocolate cream on top of the praliné insert, and place the 22 cm (8.6”) diameter dough on top of the cream.
- Remove any excess dough using a rolling pin.
- Using your fingers, make sure the border is clean, then lightly egg wash the top of the gateau basque with the egg yolk using a brush.
- To decorate the top of the cake, trace 4 sets of parallel lines with a fork, then turn the mold 1/4 turn and trace 4 more sets of parallel lines perpendicular to the first sets of lines. This will result in a diamond-shaped crosshatch pattern.
- Bake at 170°C (338°F) for 30-35 min. The cake is finished when a knife inserted into the center comes out clean.
- Remove from the oven and allow to cool completely.
- Once the cake has cooled, place a cardboard cake circle on top and turn the mold upside down to unmold the cake.
- Transfer to a clean cardboard circle.
Tools
- Piping Bag
- Scissors
- Bowl(s)
- Offset spatula
- Rolling pin
- Brush
- Small offset spatula
- Fork
- 20 cm (7.9”) Cardboard circles
Decoration
Ingredients: Decoration
Preparation: Decoration
- Gently place the cake ring on top of the cake and use a brush to apply a thin layer of melted chocolate on top of the cake.
- Immediately sprinkle the caramelized hazelnuts onto the chocolate.
- Place the previously prepared chocolate disk on top of the hazelnuts and use a heat gun to gently melt the disk over the hazelnuts.
- Then, using a sifter, gently sift cocoa powder on top of the melted chocolate disk.
- Lastly, place a cardboard circle on top of the cake and gently sift powdered sugar around the edge of the cake.
- Remove the cardboard circle and garnish with gold leaf in the center of the cake.
Tools
- Heat gun
- Brush
- Paring knife
- 18 cm (7”) round cake ring
- Sifter
- 18 cm (7”) Cardboard circle

Need support with your chocolate confections?
- Find troubleshooting guides & tutorials
- Chat live with an advisor chef and find the right solution to your challenges





Comments